Background
A recent project required an Oracle RAC environment for testing. While OpenNebula typically handles VM provisioning, Oracle RAC’s shared disk configuration added complexity. This article details using VirtualBox + Vagrant for rapid deployment.
Software Overview
- VirtualBox: Lightweight virtualization engine (like VMware) for isolated VMs.
- Vagrant: Automation tool (like Docker Compose) for managing VM lifecycles via
Vagrantfile. - Versions: VirtualBox 7.1.10 [1], Vagrant 2.4.7 [2].
Why Not Docker?
- Storage: Oracle RAC relies on ASM for raw disk access (
/dev/sdb). Docker volumes (directory mounts) cannot emulate block devices, even with--privileged. - Network: RAC requires dedicated heartbeat networks, VIP failover, and SCAN resolution. Docker’s Overlay networks incur performance overhead, and VIP tools (e.g., Keepalived) conflict with Docker networking.
- Kernel Isolation: RAC nodes need strict resource isolation (CPU/memory locks). Docker’s shared kernel blocks Oracle kernel modules (e.g.,
oracleasm) and risks IPC conflicts.
VirtualBox Advantages
- True VM-level isolation (dedicated kernels per node).
- Native block device support via VirtualBox shared disks.
- Flexible networking (e.g., Host-Only for zero-latency communication).
Vagrant Configuration
- Initialize Environment
Run as admin inC:\Program Files\Vagrant:
vagrant init
Vagrant.configure("2") do |config|
  config.vm.box = "CentOS7u2"
  config.disksize.size = "20GB"  # Requires vagrant-disksize plugin

  # Node: rac1
  config.vm.define :rac1 do |rac1|
    rac1.vm.provider "virtualbox" do |v|
      v.customize ["modifyvm", :id, "--name", "rac1", "--memory", "2048"]
    end
    rac1.vm.hostname = "rac1"
    rac1.vm.network :public_network, ip: "192.168.56.11", adapter: 2
    rac1.vm.network :private_network, ip: "10.10.10.11", adapter: 3
  end

  # Node: rac2
  config.vm.define :rac2 do |rac2|
    rac2.vm.provider "virtualbox" do |v|
      v.customize ["modifyvm", :id, "--name", "rac2", "--memory", "2048"]
    end
    rac2.vm.hostname = "rac2"
    rac2.vm.network :public_network, ip: "192.168.56.12", adapter: 2
    rac2.vm.network :private_network, ip: "10.10.10.12", adapter: 3
  end
end
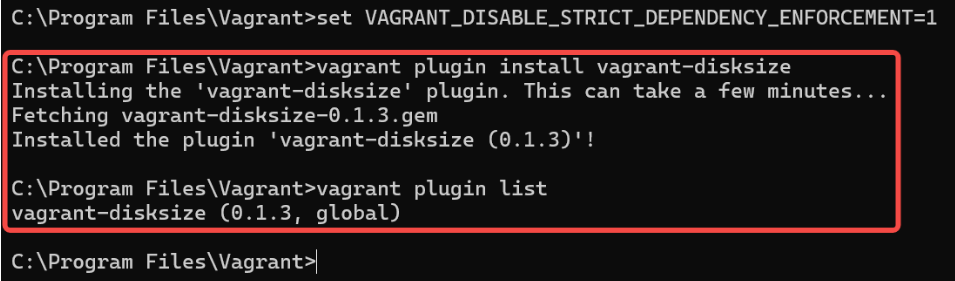
3. Install vagrant-disksize PluginDefault root disk (9.77GB) is insufficient for GI installation. The plugin enables resizing via config.disksize.size.
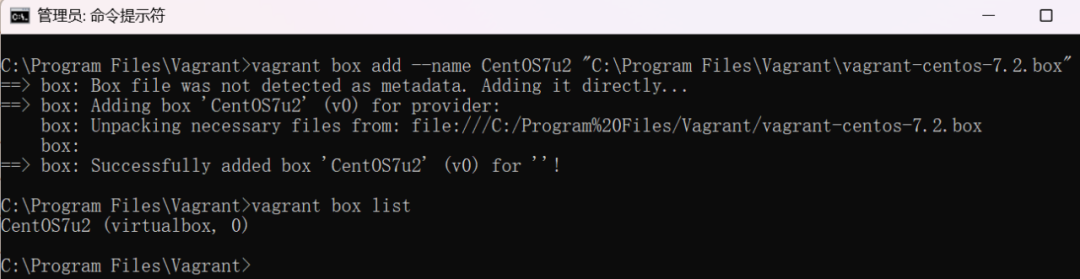
4. Add OS Image
Download bento/centos-7.2 box [3] or use a local file. Ensure the box name matches CentOS7u2 in Vagrantfile.
5. Create Shared Disks
Use VBoxManage (add VirtualBox to system PATH if needed):
# OCR disks
VBoxManage createhd --filename "D:\VirtualBox VMs\ocr1.vdi" --size 1024 --format VDI --variant Fixed
VBoxManage modifyhd "D:\VirtualBox VMs\ocr1.vdi" --type shareable
# ... Repeat for ocr2, ocr3, data1, data2, data3
6. Launch VMs
vagrant up
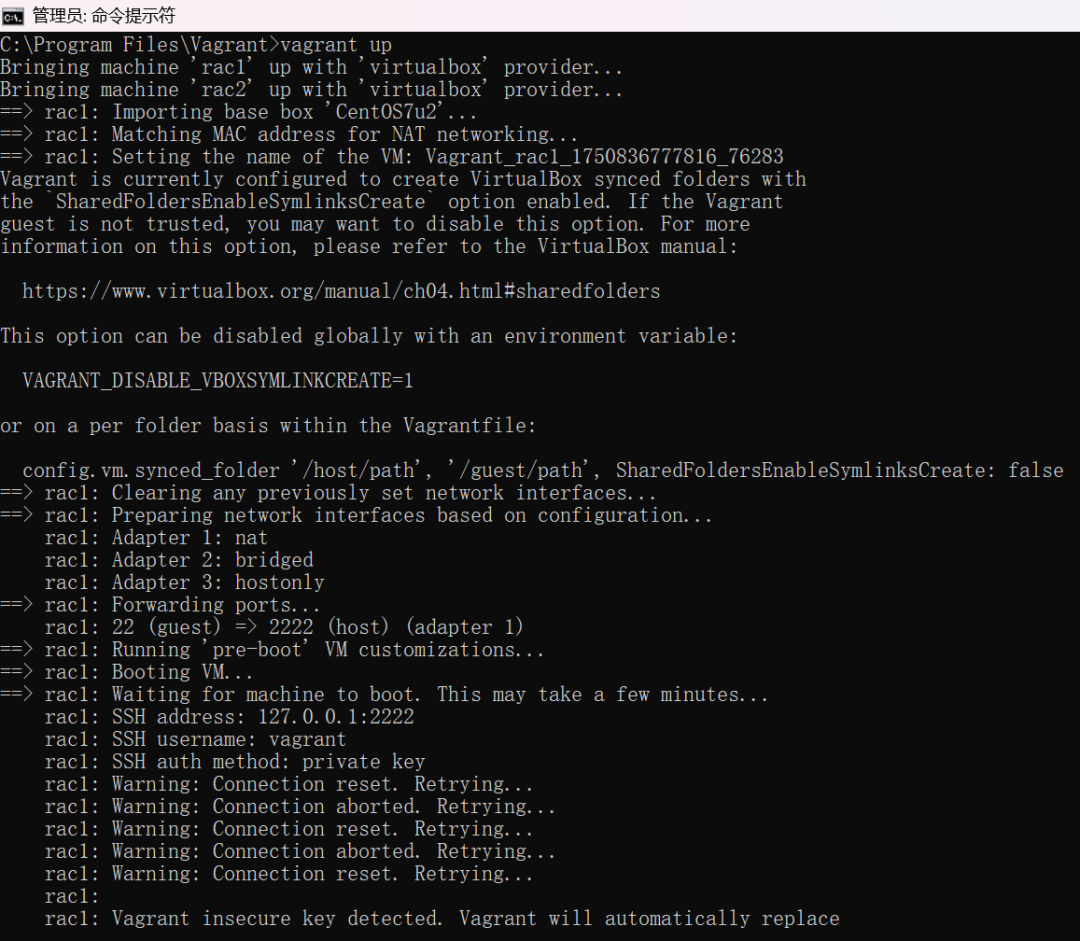
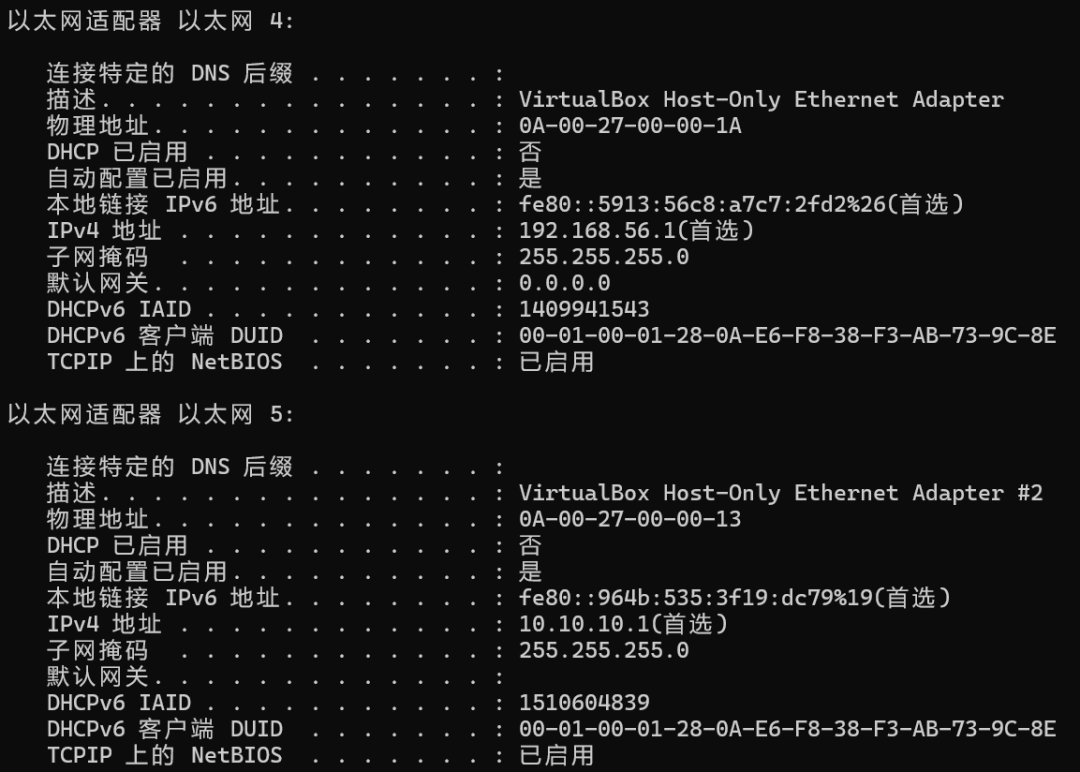
Troubleshooting: If VMs are inaccessible, switch the second NIC from Bridged to Host-Only mode.

- Access VMs
Usevagrant ssh(default credentials:vagrant/vagrant) or tools like Git Bash:
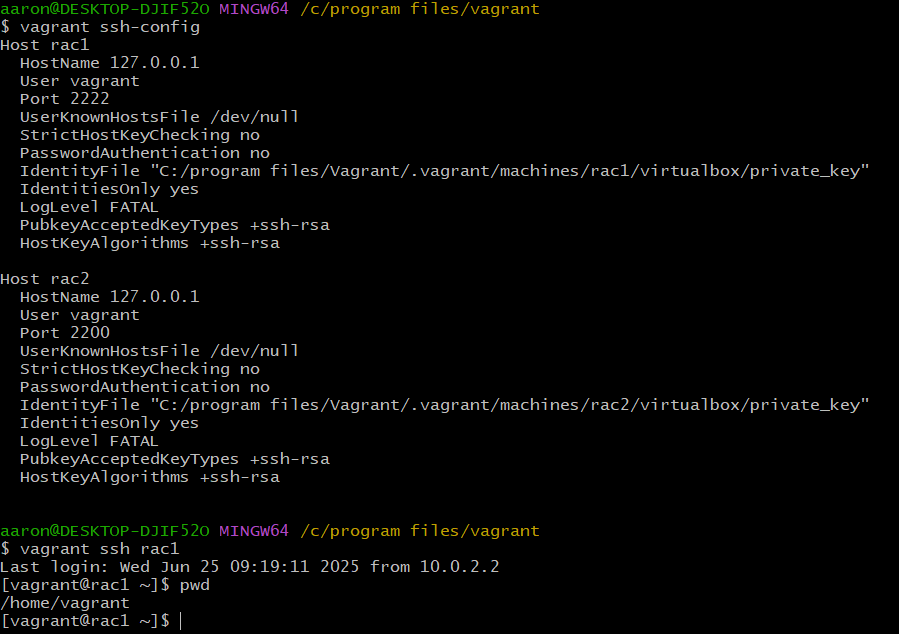
The base environment for Oracle RAC is ready. Proceed with GI/DB installation per Oracle’s documentation.
Summary
This guide demonstrated how VirtualBox + Vagrant simplifies Oracle RAC test environment setup. Key considerations include multi-NIC configuration, shared storage (via ASMLib/UDEV), and sufficient resources (≥2GB/node).
%20(2048%20x%201000%20%E5%83%8F%E7%B4%A0)%20(3).png)

%20(2048%20x%201000%20%E5%83%8F%E7%B4%A0)%20(2).png)
